The Chart tab is the client’s clinical record. It shows their past and upcoming appointments, the AI-generated note for each session, and their assessments and forms. Open a past appointment to review, edit and sign its session note.
Note: All clients, names, emails, appointments and other data shown in the screenshots are sample data we created for this guide. They are not real people or real records.
When to use this
- You want to review or edit the AI clinical note after a session.
- You’re ready to sign a session note.
- You want to read the session transcription or search the note for a word.
- You want to book, change or review a client’s appointments.
Open the Chart tab
In Clients, click the client’s name, then click the Chart tab. You’ll see Appointments, split into Past Appointments and Upcoming Appointments, and Assessment & Forms below.
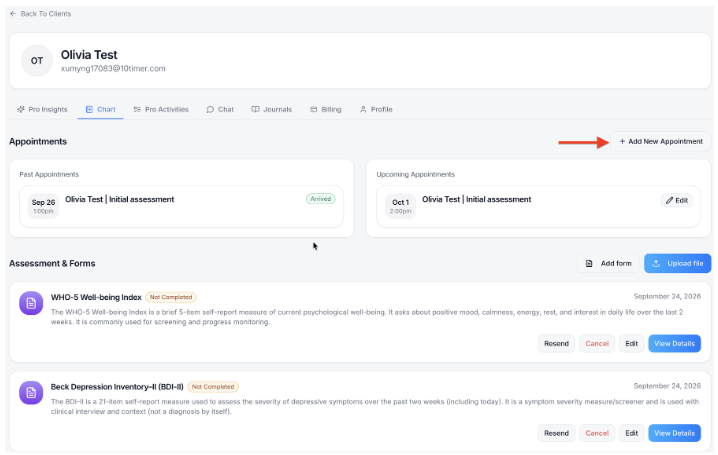
Book or change an appointment
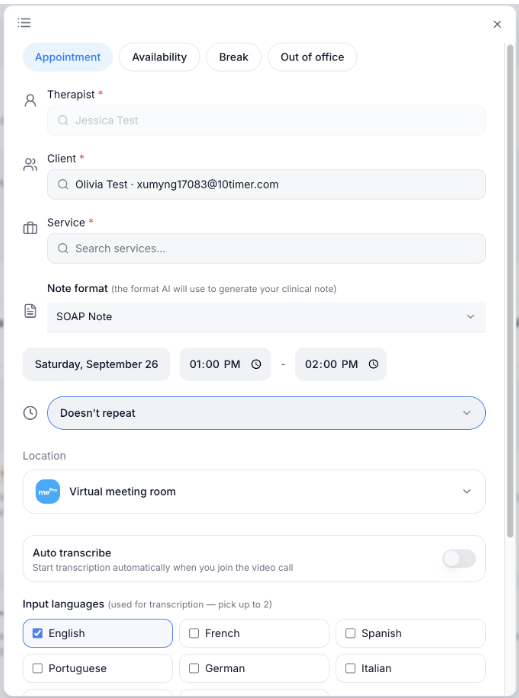
- Add New Appointment opens the appointment form with this client already selected. Fill in the rest as described in Create an appointment.
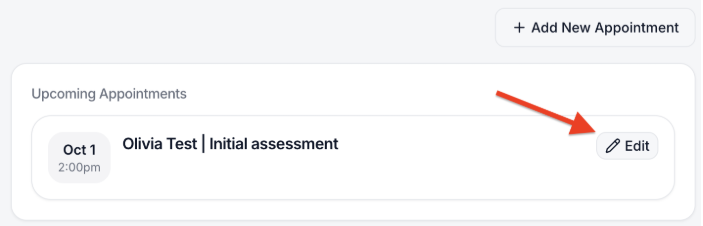
- Edit on an upcoming appointment lets you change it. See Edit an appointment.
Review and sign a session note
1. Under Past Appointments, click the appointment. Past appointments show their status, such as Arrived. The session page opens with its title, date and who it’s by, for example September 26, 2026, By Jessica Test.

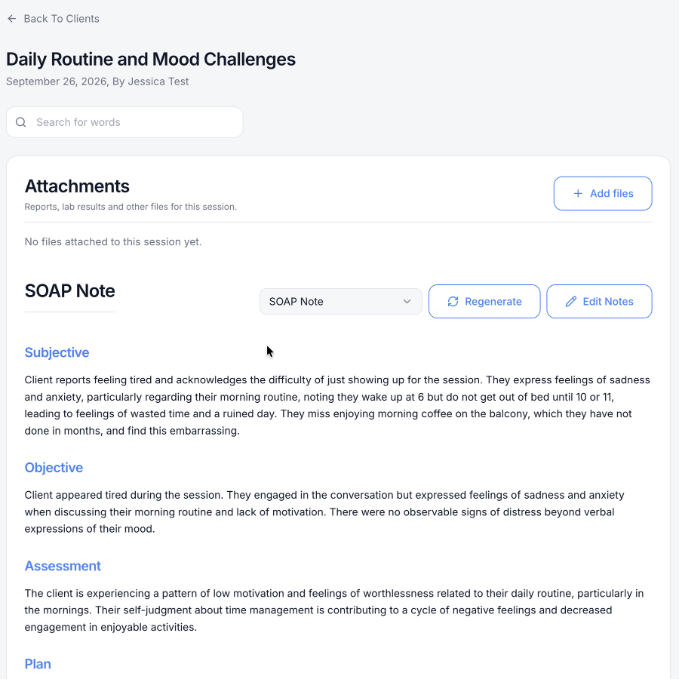
2. Optional: add files to the session. Under Attachments, click Add files to add reports, lab results and other files for this session.
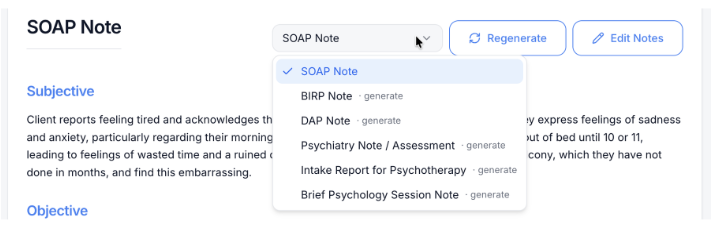
3. Read the AI clinical note. The note uses the format you chose for the appointment, for example SOAP Note, with sections such as Subjective, Objective, Assessment and Plan. To see the note in another format, open the format dropdown and choose one. Formats not created yet show generate next to them; choosing one creates the note in that format. Besides the built-in formats, you can use your own custom note templates. Create them in Services, and they appear in the format list alongside the built-in ones.
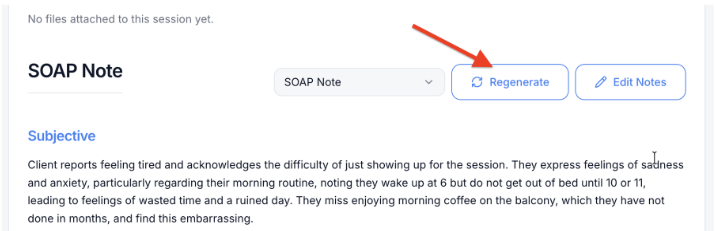
4. Optional: click Regenerate to have AI write the note again.
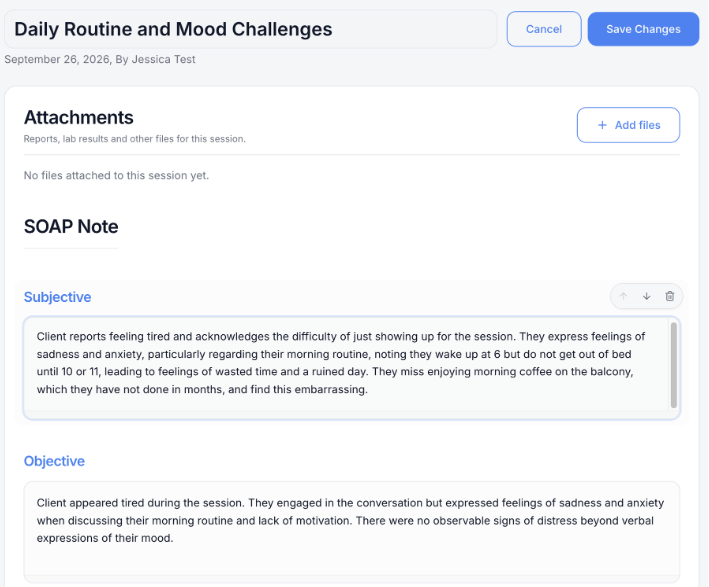
5. Optional: click Edit Notes to change the note yourself. Each section becomes an editable box. You can also rename the session title. Use the arrows beside a section to move it up or down, or the trash icon to delete it. Click Save Changes to keep your edits, or Cancel to discard them. An edited note shows Edited by you.
6. Check the Summary, then click Sign.
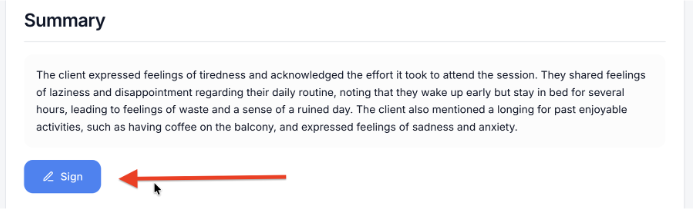
7. In Sign this note?, click Sign note. Signing locks the note, the summary and the transcription for this session. They can never be edited again, and this can’t be undone. Click Cancel if you’re not ready. Once signed, the page shows who signed and when, for example Note signed by Jessica Test on September 26, 2026 at 1:28 PM. Regenerate and Edit Notes are no longer shown.
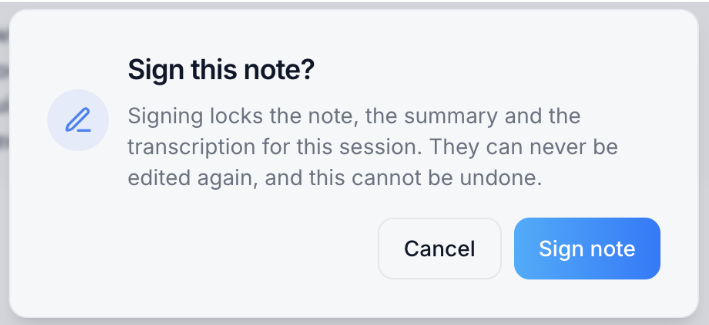
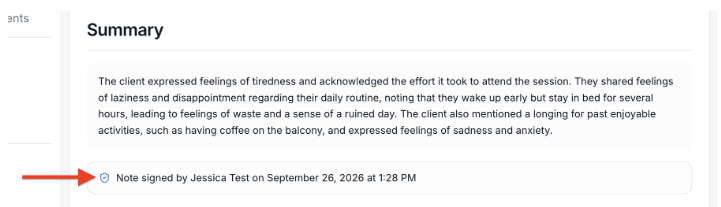
Tip: Review and edit the note before you sign. After signing, it can’t be changed.
Read the transcription
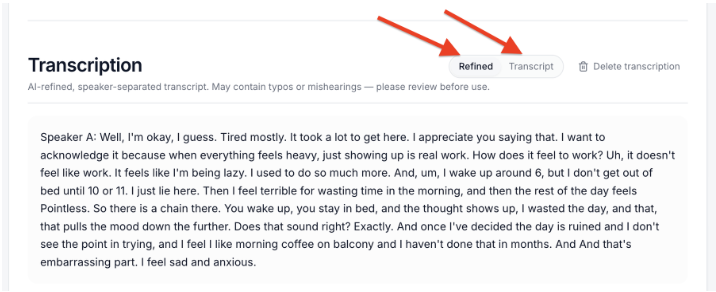
If the session was transcribed, Transcription appears below the summary. It’s an AI-refined, speaker-separated transcript and may contain typos or mishearings, so review it before use.
- Refined shows the cleaned-up transcript. Transcript shows the original.
- Delete transcription removes the transcription from this session.
Search the session
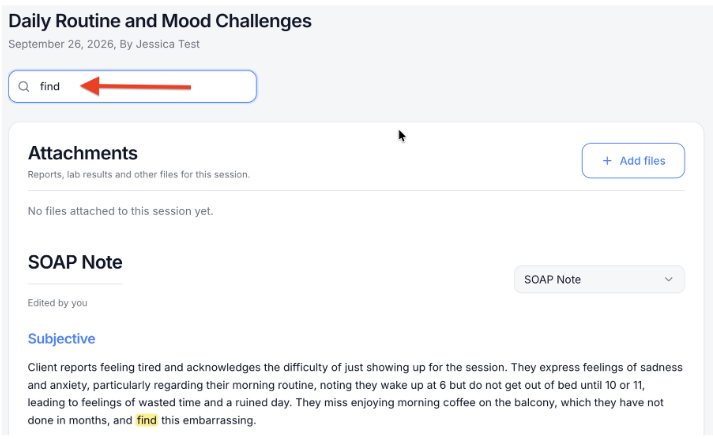
Type in Search for words at the top of the session page. Matching words are highlighted in the note.
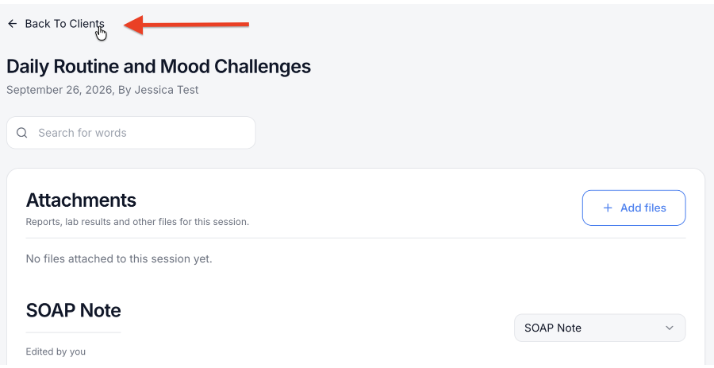
To leave the session, click Back To Clients. You return to the client’s Chart tab.
Assessment & Forms
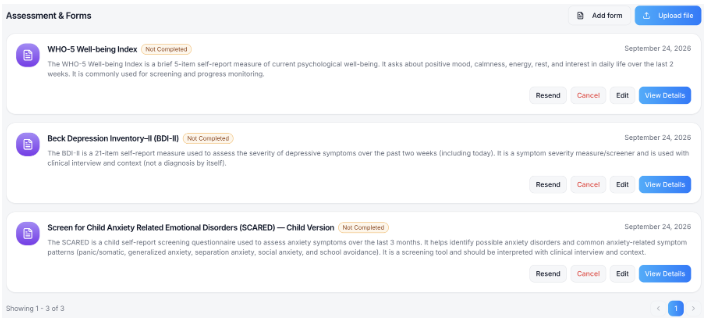
Below the appointments, Assessment & Forms lists the assessments and forms sent to the client. Each one shows its name, a short description, the date it was sent and its status, such as Not Completed. Use the arrows at the bottom to move between pages, for example Showing 1 - 3 of 3.
Resend an assessment or form
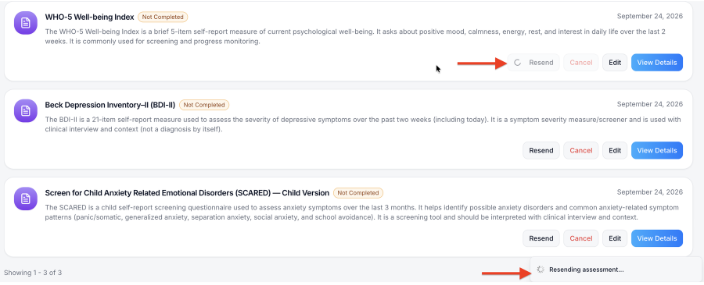
If the client hasn’t completed it, click Resend to send it again. A Resending assessment… message appears while it’s sent, and the date shown changes to the day you resent it.
Cancel an assessment or form
1. Click Cancel on the assessment or form.

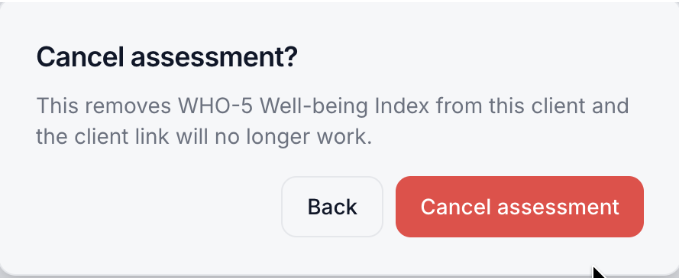
2. In Cancel assessment?, click Cancel assessment to confirm, or Back to keep it. Cancelling removes the assessment from this client, and the link the client received will no longer work.
View responses
1. Click View Details on the assessment or form.

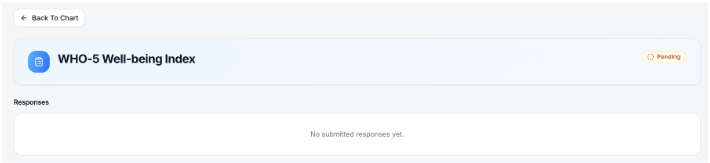
2. Review the client’s Responses. The page shows the assessment name and its status, for example Pending. Until the client submits it, you’ll see No submitted responses yet. Click Back To Chart to return to the client’s Chart tab.
Add a form or upload a file
Use the buttons at the top of Assessment & Forms:
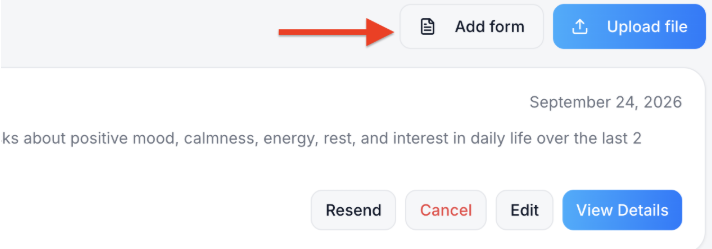
- Add form sends another form to the client.
- Edit, on each assessment or form, lets you change it.
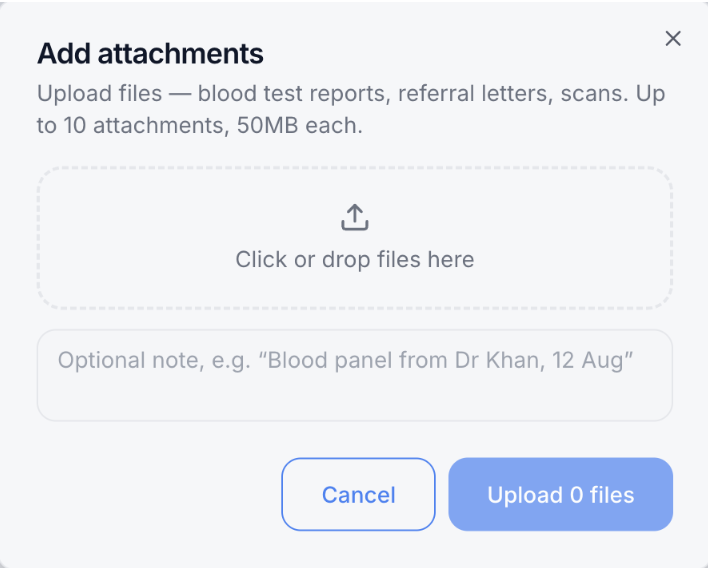
1. To add documents to the client’s record, click Upload file. The Add attachments window opens. You can upload blood test reports, referral letters, scans and similar files: up to 10 attachments, 50MB each.
2. Click Click or drop files here to choose files, or drag them into the box.
3. Optional: add a note, for example “Blood panel from Dr Khan, 12 Aug”.
4. Click Upload. The button shows how many files you’re uploading, for example Upload 2 files. Click Cancel to close without uploading.